How to Age or Colour Your Terracotta Pots
Perfectly Customise your Terracotta
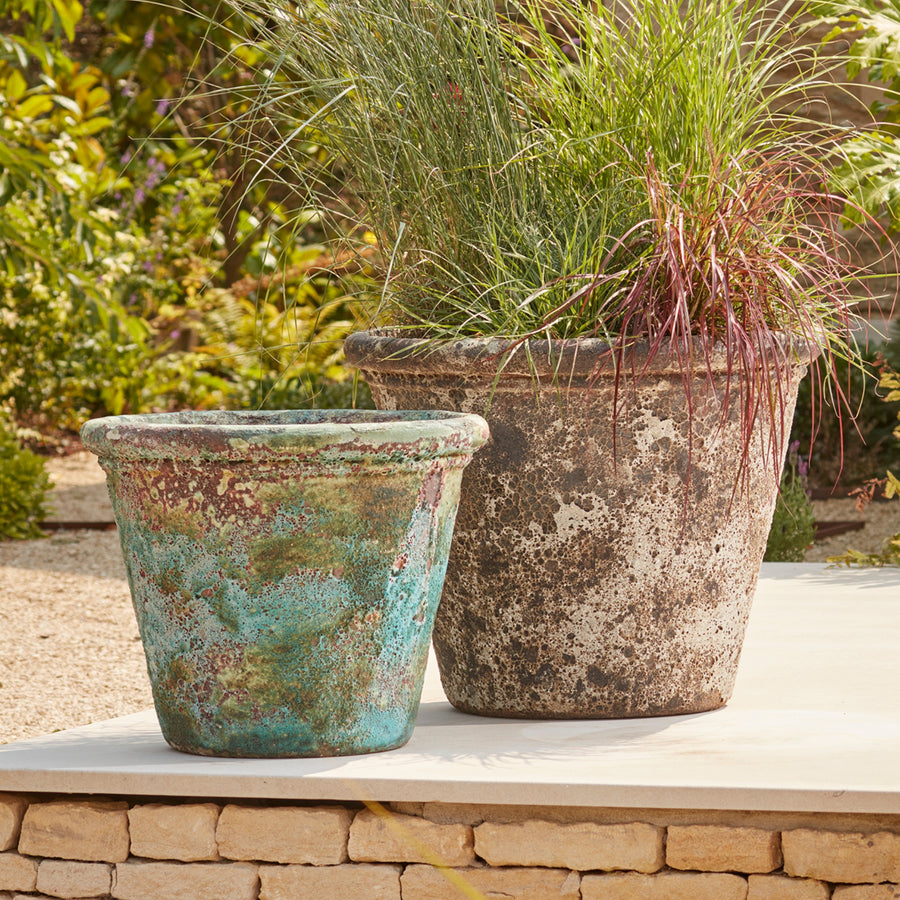
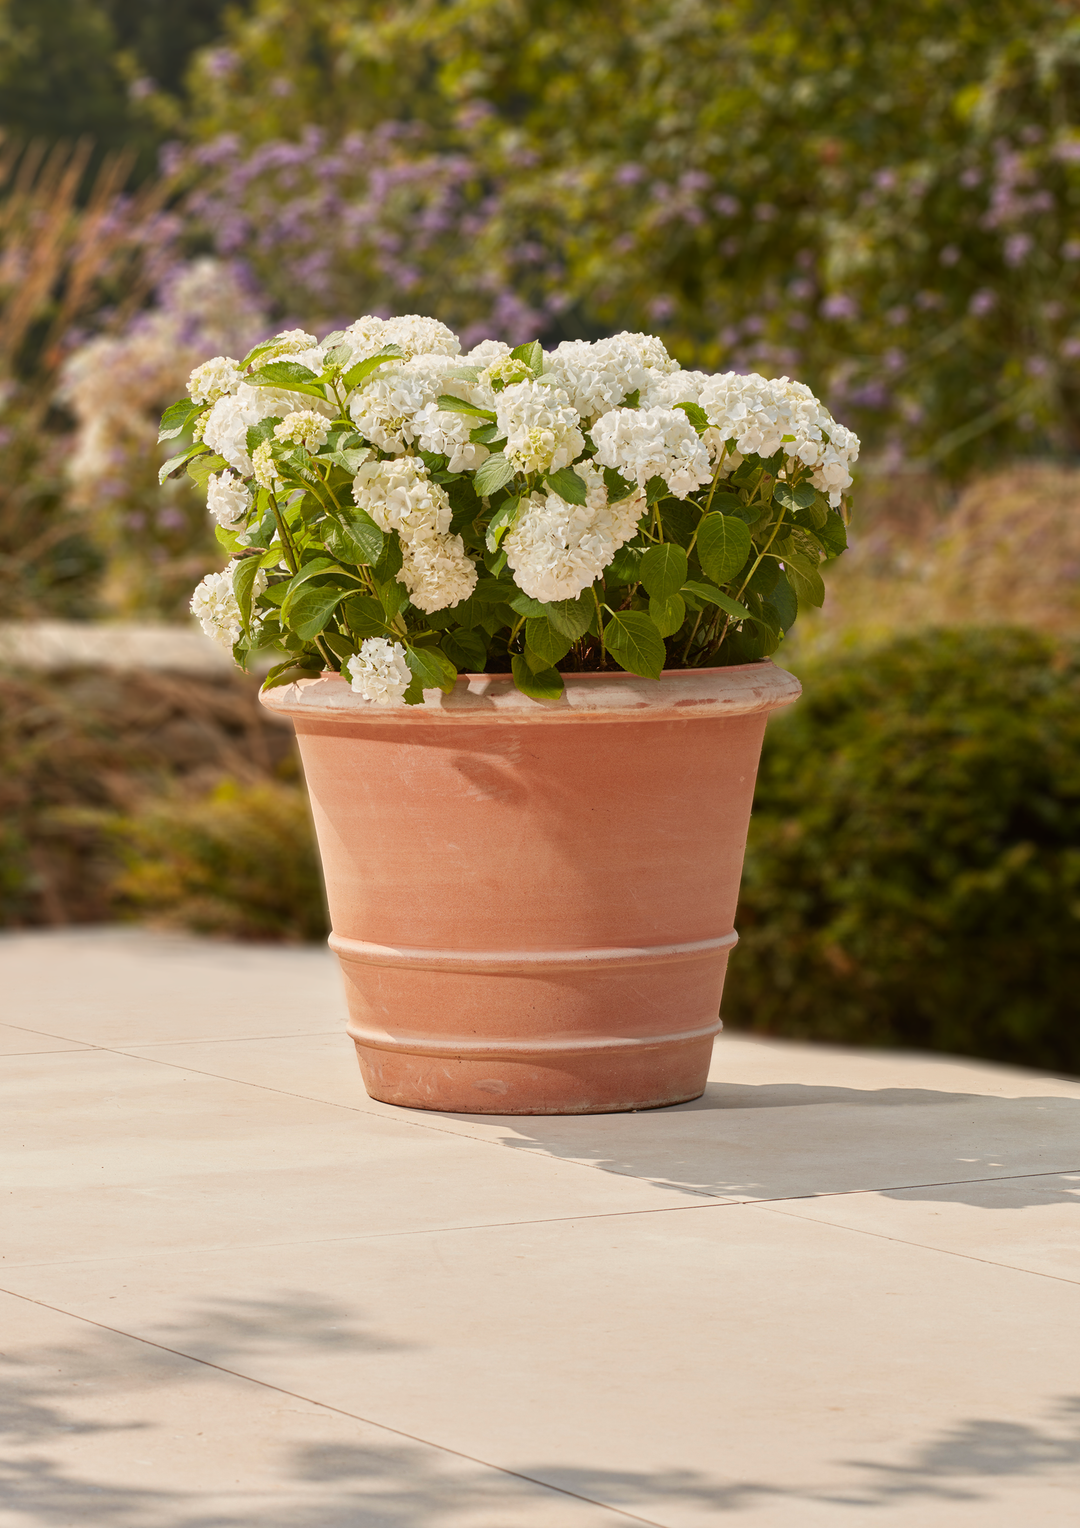
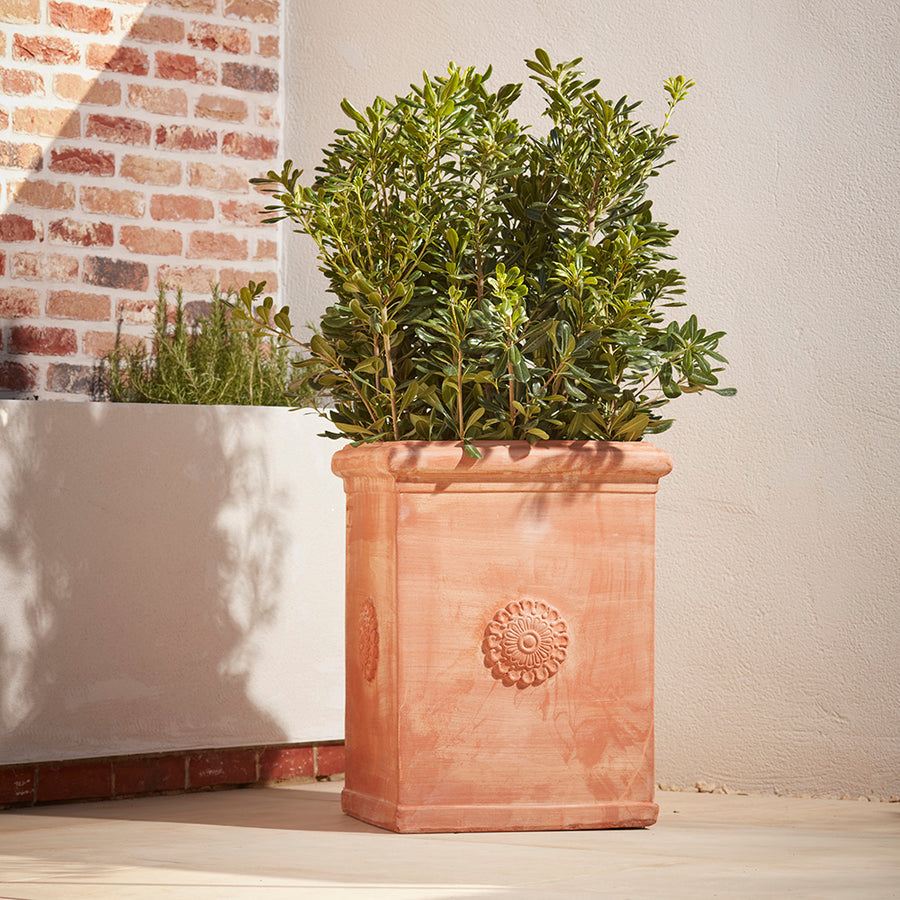
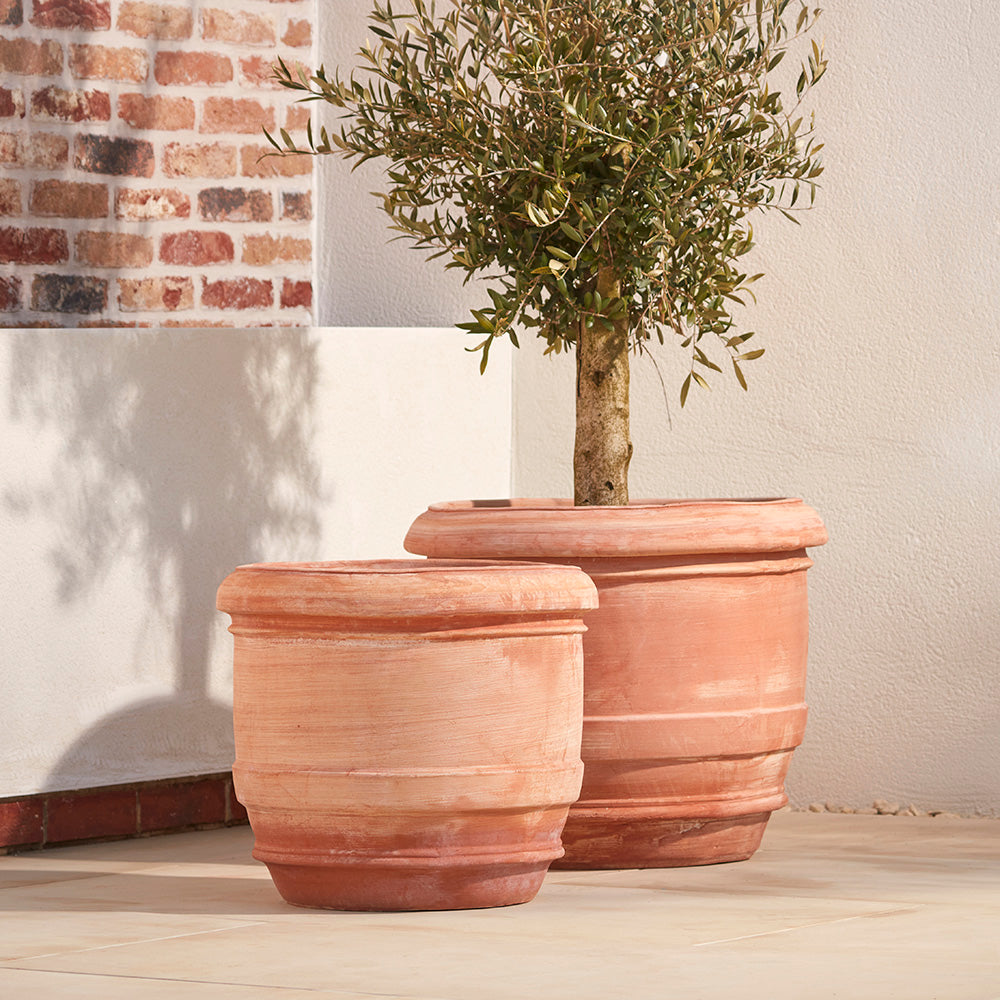
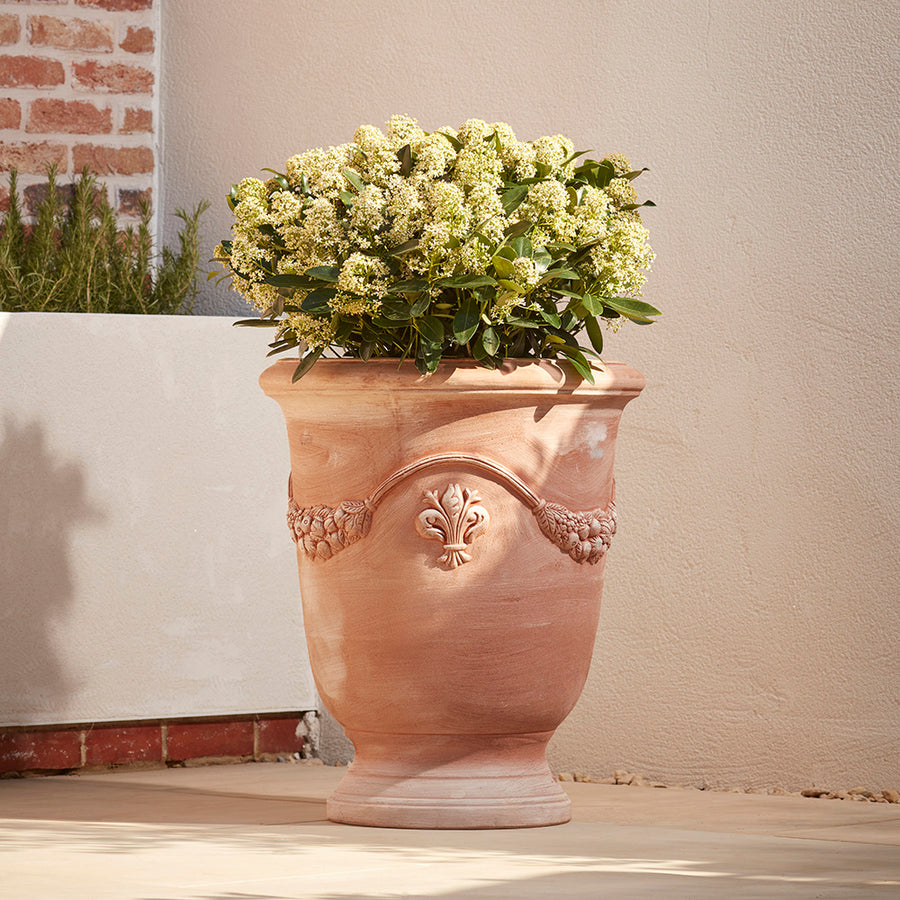
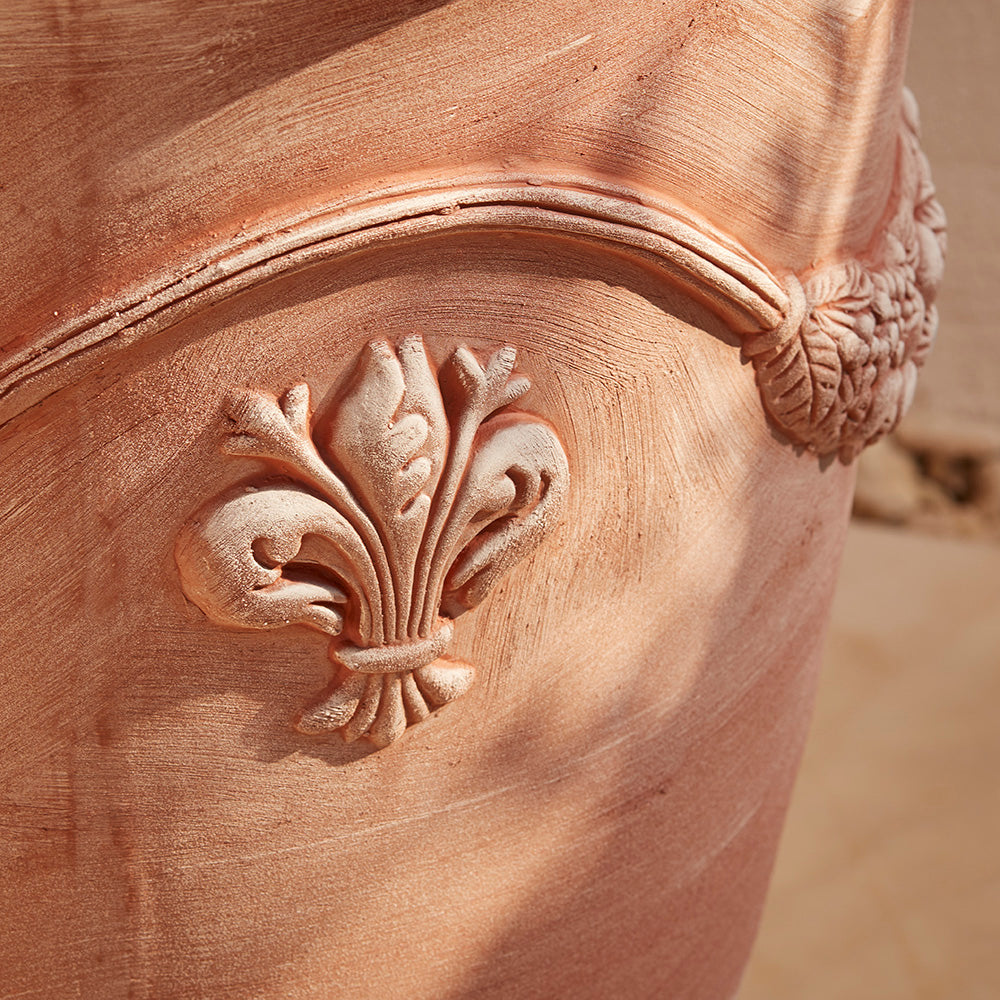
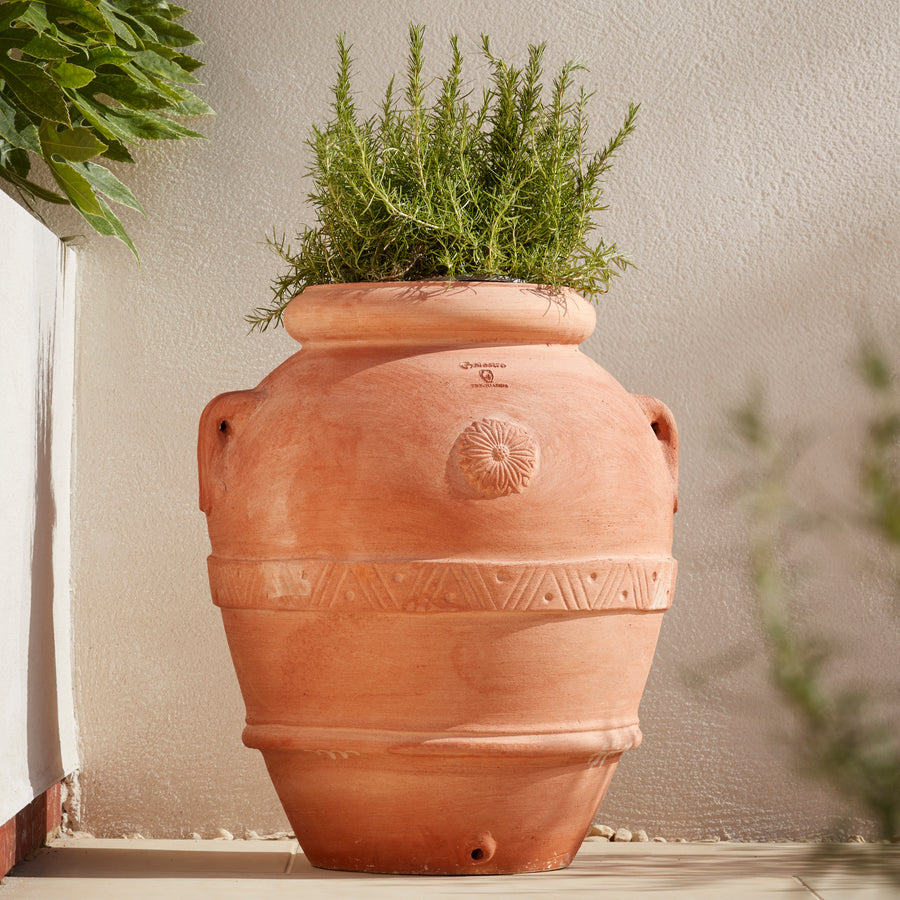
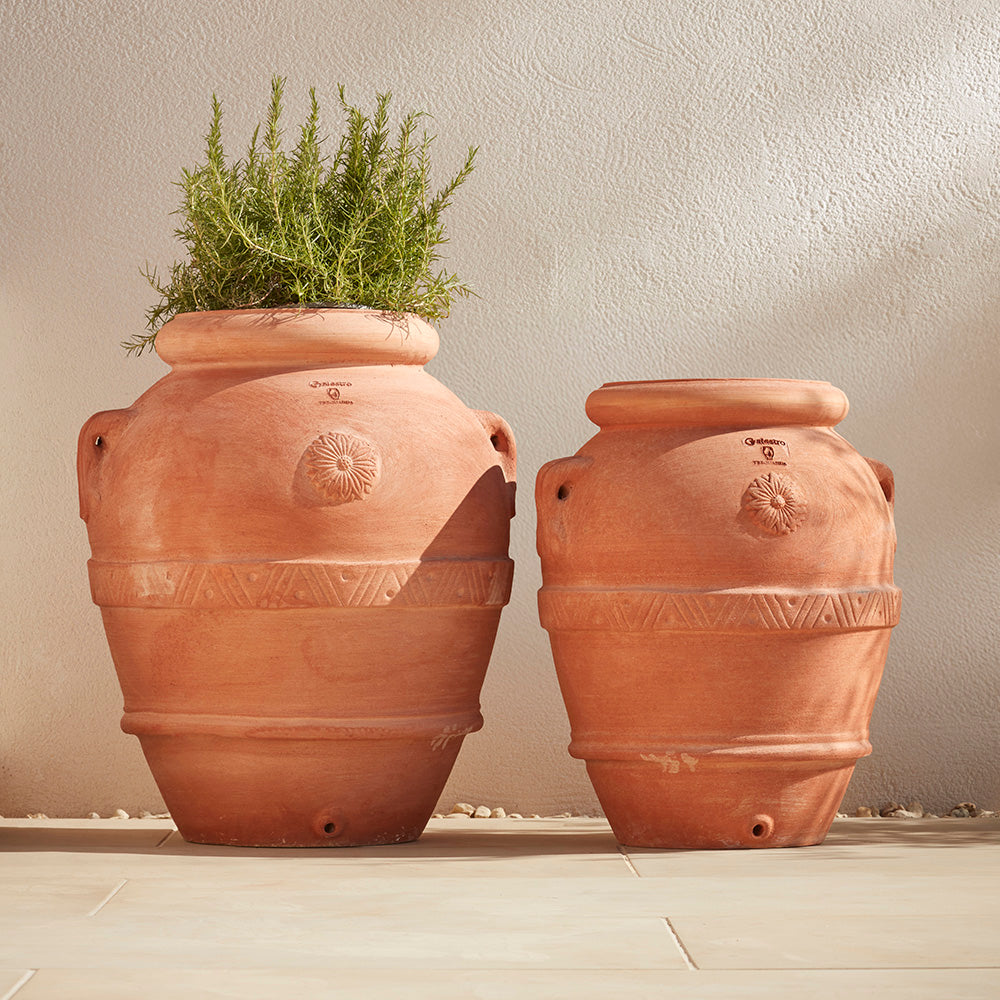
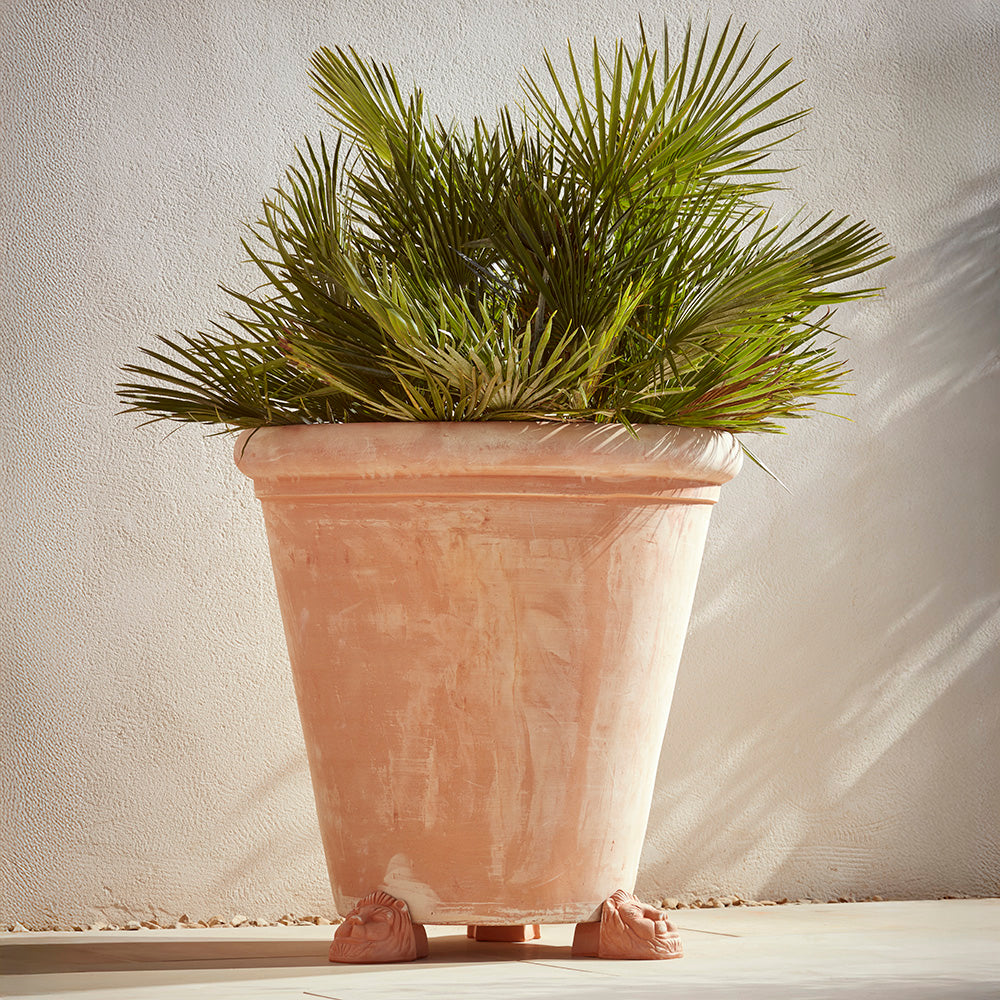
Terracotta pots are a staple of any garden, with their natural earthy hues perfect for showcasing plants, flowers and foliage to their potential. They age gracefully and can give your garden a romantic but traditional weathered look.
When buying new from us, you will receive handmade terracotta pots that are crafted individually, meaning each one is unique in its own way. However, if you do prefer the distressed look, we’ve put together a really simple guide on how to age your terracotta pots. Explore our range of beautiful Terracotta Pots here.
For aging your terracotta pots you will need:
- Terracotta pots
- Salt
- Water
- Sand paper
- Cloth
Instructions
- Fill a bucket that’s larger than your pot with hot water.
- Pour salt into your bucket until the water is fully saturated.
- Place your terracotta pot inside the bucket for a few hours until it’s fully absorbed the salt water. Remember to turn the pot over in the water so both the top and bottom get evenly immersed.
- Remove your terracotta pot from the salt water and let it dry.
- After drying your pot should have white patina all over it, use sandpaper to roughen up the surface to give it an authentic aged feel.
To achieve a vintage look, terracotta pots can alternatively be painted with a garden lime (which can be found in garden centres or hardware stores) mixed with water solution. You can even use yoghurt and paint the entire outsides of the pot with it!
Yoghurt method
- Soak your terracotta pot in water for 15 minutes.
- Using a sponge, paint the outside of your terracotta pot with a plain natural yoghurt. For an even more aged look, consider adding flecks of moss spores to the yoghurt.
- Cover in a clear plastic bag.
- Leave to stand in a cool, shady place in your garden for a few days to dry. It’s best to leave your curing pots outside as they may attract ants.
- Your pot should be left with a natural looking patina that makes it look like its been in your garden for years.
Whitewashing
- Start by cleaning your terracotta pot using a paper towel.
- Make a mixture of chalk paint and water and paint directly on the pot with a brush.
- Dip an old cloth or brush into your thinned out paint and apply directly on to the terracotta pot surface.
- Blot with a paper towel as needed to help lessen the appearance of brush strokes.
- Allow the whitewashed terracotta pot to dry completely and plant!
Painting and Upcycling your terracotta pots
If your garden decor could use a boost, painting your terracotta pots could be bring your outdoor space to live with an injection of bright colour.
Painting your terracotta pots can be done quickly and is a fun activity that can be done by both adults and children.
Acrylic or masonry paint is the most popular choice for painting terracotta pots. Both are highly pigmented, which means you’ll be able to enjoy bright colours and is thick, so it’s ideal for long lasting designs.
Click here to view our Terracotta Pots range.
Instructions
- Soak your terracotta pot in warm water and scrub any away any dirt.
- Leave to dry by putting out in full sun.
- Prime the pot first with a mixture of water and PVA glue to seal (at a ratio of 10:1).
- Put the pot aside for half an hour or more to dry then repeat the process.
- Once fully sealed, cover the pot with a white primer.
- Once your primer is dry, it’s time to let your imagination take over and start painting! You can make it as elaborate as you like or paint stripes in multi colours, the sky is the limit!
- For striped pots, apply two lengths of masking tape around pots or diagonally to create a wide band or hoops. Paint within the tape in different colours and allow to dry. Remove tape to reveal your striking design!
- For more intricate designs, why not use a cardboard stencil, the only limit is the size of your pot.
Explore our range of beautiful Terracotta Pots here.
Want to learn more about terracotta?


